Over recent years, Blogger has introduced several critical updates—including a modern XML sitemap feature. If you’re still using the old Atom feed as your Blogger sitemap, it’s time to upgrade! This guide will walk you step-by-step through creating, submitting, and optimizing the latest XML sitemap for both your blog posts and pages. By following these steps, you’ll make it much easier for Google and other search engines to discover, understand, and index your blog.
What Is an XML Sitemap and Why Is It Important?
An XML sitemap is simply a file listing all the important URLs on your website. It acts as a roadmap for search engines, ensuring your content gets discovered and indexed more efficiently. For Blogger users, this is especially vital—internal linking is often limited, so a sitemap helps search engines crawl even your deep, older content.
How to Generate XML Sitemap of Blogger.
An XML sitemap is simply a file listing all the important URLs on your website. It acts as a roadmap for search engines, ensuring your content gets discovered and indexed more efficiently. For Blogger users, this is especially vital—internal linking is often limited, so a sitemap helps search engines crawl even your deep, older content.
You can generate an XML sitemap for your Blogger blog in 1 click. Enter the Blog URL, and click on the Generate button.
Suppose the blog URL is example.blogspot.com; the sitemap address will be
- https://example.blogspot.com/sitemap.xml (for all Blogger blog posts).
- https://example.blogspot.com/sitemap-pages.xml (for all Blogger Pages).
You’ve to replace https://example.blogspot.com with your blog address. For a custom domain Blogger blog, the sitemaps will be.
- https://www.example.com/sitemap.xml (for all Blogger blog posts).
- https://www.example.com/sitemap-pages.xml (for all Blogger Pages).
Here, you’ve to replace www.example.com with your domain name. These sitemaps will update whenever you publish something on your blog. That means you don’t need to update these sitemaps again and again.
Submitting the website’s sitemap to the search console to improve search results and analyze the SEO is essential. With the help of webmaster tools, you can keep an eye on ranking keywords and improve their rank.
How to Submit Your Sitemap to Google Search Console
The search engines fetch all URLs listed from the sitemap, crawl, and check whether the content is helpful for indexation. The sitemaps are more critical when there is weak internal linking of blog posts. It helps the search engine find the deep content and index for search results.
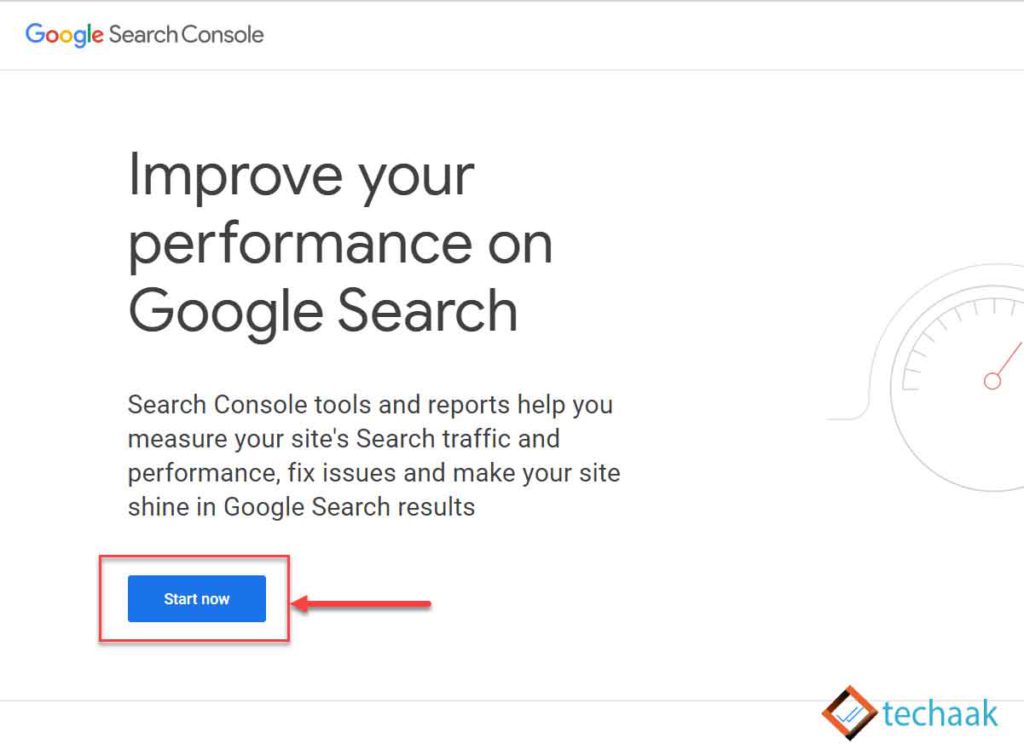
Submitting your sitemap to Google is essential for better and faster indexing. Here’s how:
- Sign Up or Log In to Google Search Console.
- Verify Ownership
- Choose “URL prefix” and enter your full Blogger address.
- Use the HTML tag option to verify:
Copy the provided meta tag, open Blogger, go to Theme > Edit HTML, and paste the tag within the<head>section. - Save and click Verify back in Search Console.
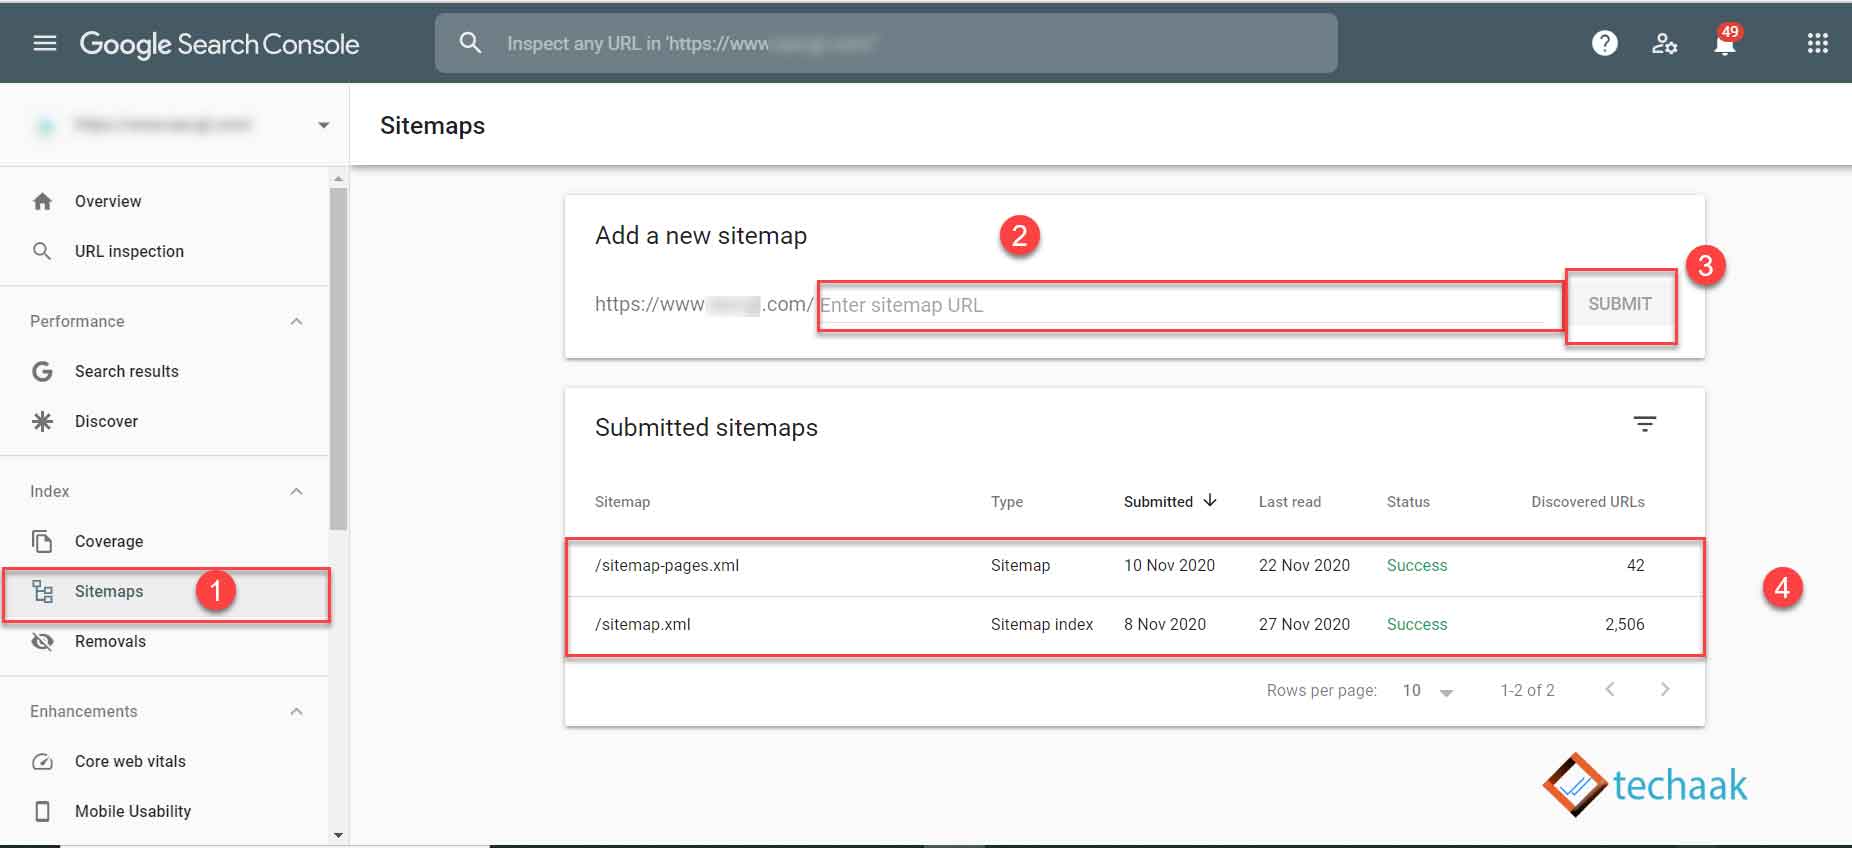
- Submit Sitemaps
- In the Search Console dashboard, select your site.
- Click “Sitemaps” in the left menu.
- One by one, submit these two sitemap URLs:
sitemap.xmlsitemap-pages.xml
- You should see a “Success” message upon correct submission. If you see an error, try refreshing or double-checking your URLs.
Tip: For custom domains with subdomains, use domain-level verification in Google Search Console.
You may consider domain verification if you have a custom domain using multiple subdomains.
Now all processes are done, it might show the number of posts or pages on the website or show processing data.
After Google Search Console, another second-largest webmaster tool from Microsoft is Bing. Learn what the Bing Webmaster tool is and submit a sitemap to it.
Submit sitemap to other search engines using robots.txt.
Submitting Your Sitemap to Bing and Other Search Engines
After Google, you can improve your visibility by submitting your sitemap to Bing Webmaster Tools and other search engines. The steps are similar—register your site, verify ownership, and submit your sitemap URLs.
Optimizing Your robots.txt for Blogger
When a search engine crawls your blog, the first place it checks is the robots.txt file. By default, Blogger generates a basic robots.txt—however, you should customize it to specifically mention your new sitemaps.
Example robots.txt for Blogger:
User-agent: *
Allow: /
Sitemap: https://yourdomain.com/sitemap.xml
Sitemap: https://yourdomain.com/sitemap-pages.xml
Replace
yourdomain.comwith your Blogger address.
How to add or edit robots.txt in Blogger:
- Go to Settings > Crawlers and indexing > Enable custom robots.txt.
- Paste your customized robots.txt including your sitemap links.
- Save changes.
Troubleshooting: Sitemap Issues in 2025?
Some users have reported seeing “Unknown” or “Couldn’t fetch” errors after submitting their sitemap in 2025. Here are some steps to resolve common issues:
- Double-check your URLs (correct domain, no typos, HTTPS).
- Make sure your blog is public (not private).
- If you see “0 discovered URLs”, it may take some time for Google to process a new sitemap.
- Refresh the page or try re-submitting after waiting a few hours.
- For persistent errors, check your robots.txt to ensure it allows crawling and includes the correct sitemap URLs.
Final Thoughts
Keeping your Blogger sitemap updated and properly submitted is one of the simplest and most effective ways to improve your blog’s discoverability on Google and Bing. By following these updated steps, you make sure your content always has the best chance to get indexed and ranked.
Have questions or run into trouble? Leave a comment below and we’ll help you resolve any sitemap or indexing issues!
This guide is periodically updated to reflect the latest changes in Blogger and Google Search Console. If you found it helpful, share it with fellow bloggers!
Thank you so much ❤️
Whenever I face any problem on my blog I just search Seo neurons in Google and I get exactly accurate info which does have any negative impact on SEO . Thank you so so much for creating this website .
great work thank you
Great work thank you
Thank you very much
https://usatodaytribune.blogspot.com
these days xml sitemap has become really important due to google indexing issues.
Thank You So Much Sir
Thank but when can using atom.xml sitemap on google can be good than sitemap.xml?
yes you can user atom.xml for feed posts default url indexing and other seo usage
thank you very much.. i had tried many times for bing, but finally i did it thanks to you..
very helpfull article
Thank you so much. Yours was the only post I found with relevent and workable steps.
Is it possible to create XML sitmap only for one category in huge website?
My sitemap shows 0 discovered URLs, what should I do?
is the sitemap wil automatically be added to the default robots.txt file,
In WordPress, Plugins like Yoast may create robots.txt file for you. In Blogger, you have to add it manually for pages and posts.
How?
thank you
my sitemaps are not being added to search console. please someone help!
why you disallow /search in robots.txt?
should you have separate sitemaps for example.blogspot.com, http://example.com and https://example.com or should you remove and only have sitemaps for https:// ? Also does it matter if www. is included in sitemap? Thanks
Thank you very much Seoneurons
Thank you so much!
When i submit site map correctly the sitemap couldn’t fatched error occurred. i have submitted it 1 week ago. please give some advice for it.
Creating an XML sitemap for your Blogger blog is crucial for helping search engines discover your content and understand your site’s structure. By generating a Blogger XML sitemap and submitting it to search engines like Google Search Console and Bing Webmaster, you improve the visibility and accessibility of your blog. It’s a simple process that can have a significant impact on your blog’s SEO and search engine rankings. Thanks!!! Aecton Queskill
Thanks for the help.
Not working in 2025. When i add sitemap.xml then the status is “unknown”.
Even when I add the url with sitemap.xml, always unknown, cannot find