
If you installed WordPress using the Bitnami stack image, a Bitnami banner would appear in the bottom right corner of the WordPress or any application installed. So how to remove this Bitnami banner? Let’s understand.
Disable or Remove Bitnami Banner Info from your application like WordPress etc.
Follow the steps below to remove the Bitnami information from your application like WordPress.

Application with Bitnami Banner
You can remove the Bitnami banner using two methods: by simply executing the command, and the second is by manual editing system files. Check how you can deploy WordPress with nginx using bitnami stack.
Remove Bitnami Banner using a simple command line.
- Login to your Cloud Platform and access the SSH tunnel
- Execute the following command for WordPress
sudo /opt/bitnami/apps/wordpress/bnconfig --disable_banner 1And if you installed an application other than WordPress CMS. You can disable the Bitnami banner by executing the following command:
sudo /opt/bitnami/apps/APPNAME/bnconfig --disable_banner 1where APPNAME will be your application name.
- Now, if you’re using the Apache webserver, then restart by executing the following command.
sudo /opt/bitnami/ctlscript.sh restart apache- For the NGINX web server, execute the following command.
sudo /opt/bitnami/ctlscript.sh restart nginx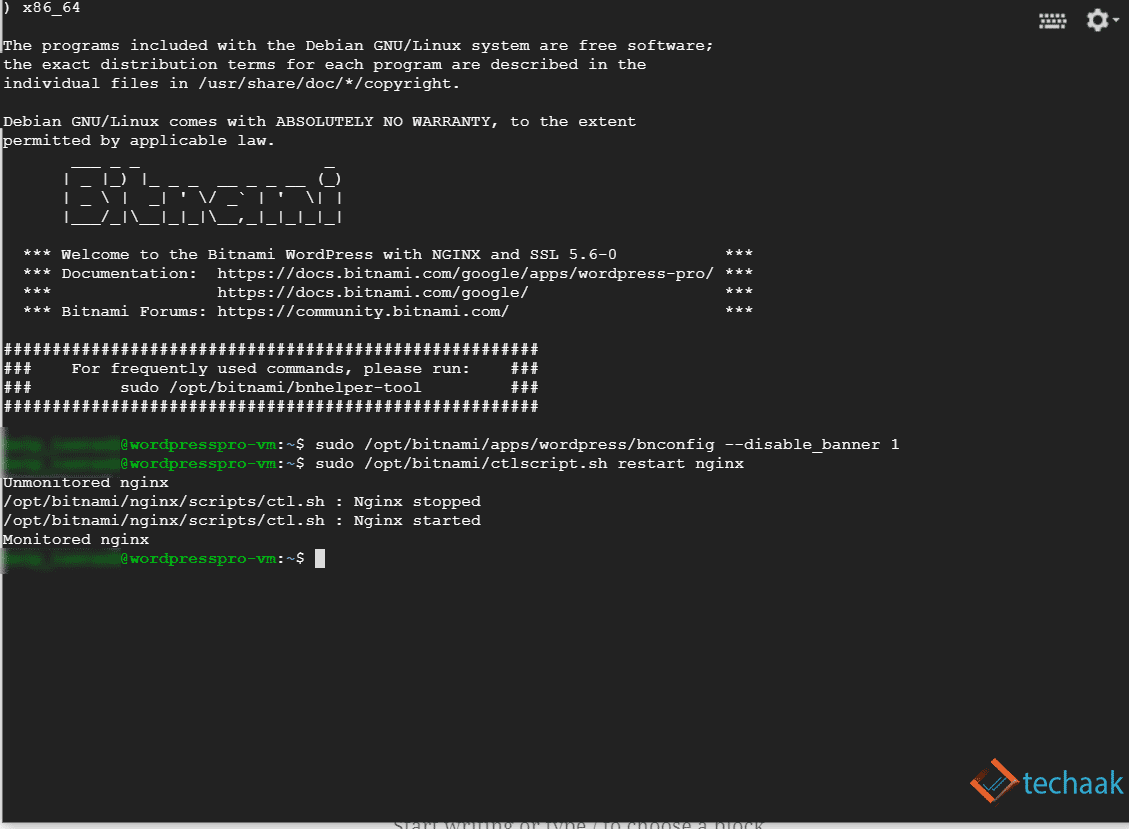
Removal SSH for Bitnami Banner
Please keep in mind that if you want to disable the banner from any other application, change the application name in the SSH cmd line.
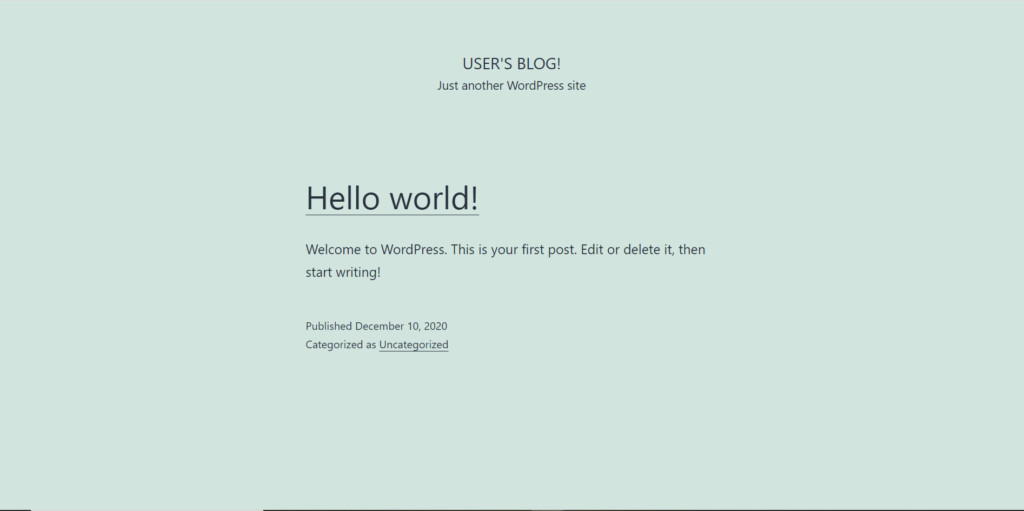
Bitnami Banner Removed from the Application
Remove the banner Manually.
In case the above method not works, you can follow this step. In this, connect to VM using SSH terminal, Now execute the following command.
sudo -i
cd /opt/bitnami/apps/wordpress/conf
And Apache server user can execute the following command
sudo nano httpd-app.confOr, nginx server users execute this command.
nano nignx-app.confHere /opt/bitnami/apps/wordpress/conf is the path of your application. Now a locate the following line in the apache or nginx server.
Include "/opt/bitnami/apps/wordpress/conf/banner.conf"Comment out this line using “#”, as below.
#Include "/opt/bitnami/apps/wordpress/conf/banner.conf"Restart the nginx or apache server, and the problem will be solved.
I hope you liked this article. In case of any doubt, suggestion, feel free to ask in the comment section provided below.
JOIN THE CONVERSATION
Comments
Have a question or something to add? Comments are moderated and appear here only after approval.
JavaScript is required to submit a comment. Published comments above remain available to read.
No approved comments yet. Be the first to join the conversation.